Articles: Has your Windows PC been hacked? | Fix your Email Delivery Issues | Speed-up & Secure your network | Getting Started with AI | Pi-Holes | Raspberry Pi's | Unifi your home |

Setting Up Raspberry Pi as an Ad-Blocker Using Pi-Hole
The Raspberry Pi, a compact and versatile computer, has a myriad of uses. One of its standout applications is its ability to block ads across your network (and speeding-up your Network at the same time) using Pi-Hole. Pi-Hole, a free and open-source software, operates as a DNS sinkhole, intercepting and blocking ads at the DNS level. This ensures ads are halted before they reach your device, offering a seamless browsing experience.
Prerequisites
Before diving into the setup, ensure you have the following:
- Raspberry Pi (any model with an Ethernet port or Wi-Fi capability)
- MicroSD card (8GB or more recommended)
- A power supply for your Raspberry Pi
- An active internet connection
Step-by-Step Guide to Setting Up Pi-Hole on Raspberry Pi
1. Setting up Raspberry Pi OS
First, you'll need to install the Raspberry Pi OS (formerly Raspbian) onto your MicroSD card. You can download the latest version from the official Raspberry Pi website. Use software like BalenaEtcher to flash the OS onto the MicroSD card.
2. Booting and Initial Setup
Insert the MicroSD card into your Raspberry Pi and power it up. Follow the on-screen instructions to complete the initial setup, ensuring you connect to the internet.
3. Installing Pi-Hole
Open the terminal on your Raspberry Pi and enter the following command:
curl -sSL https://install.pi-hole.net | bashThis command fetches and runs the Pi-Hole automated installer. Follow the on-screen prompts to complete the installation.
4. Configuring Pi-Hole
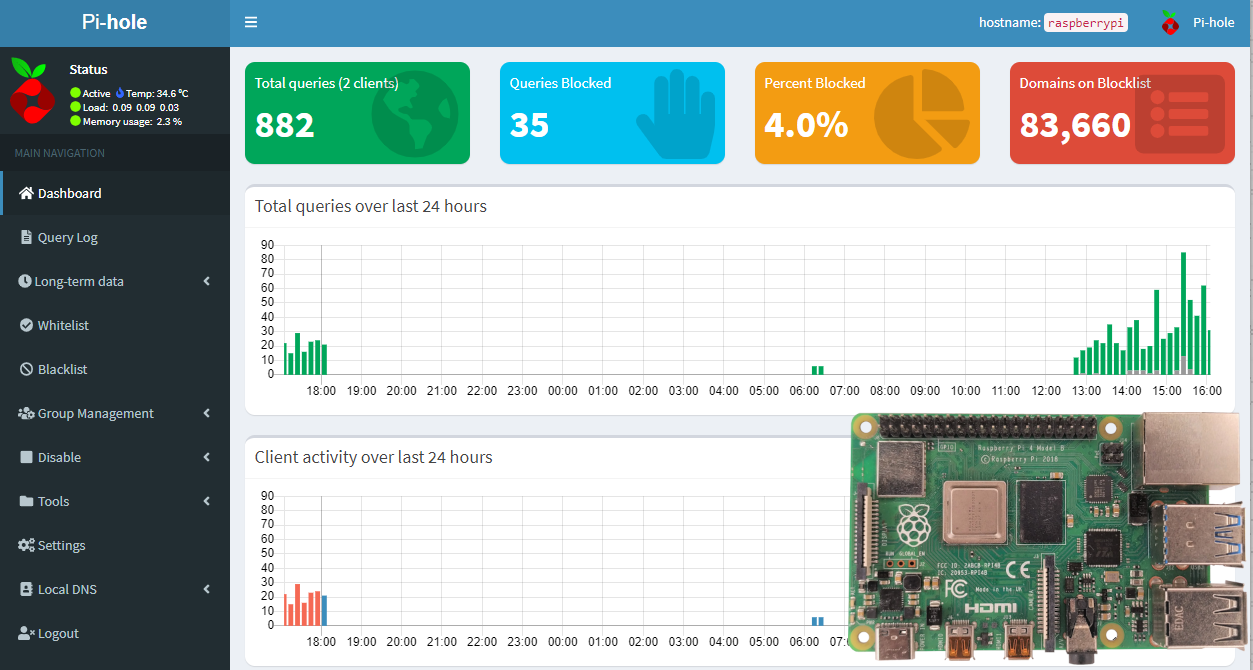
Once installed, access the Pi-Hole admin interface by navigating to http://pi.hole/admin on any device within your network. From here, you can customize settings, view statistics, and manage your blocklists.
5. Setting Pi-Hole as Your DNS Server
For Pi-Hole to block ads across your network, devices need to use it as their DNS server. This can be done in two ways:
- Configure each device individually to use the Raspberry Pi's IP address as their DNS server.
- Set the Raspberry Pi's IP address as the DNS server in your router's settings. This way, every device connected to the network will automatically use Pi-Hole.
Wrapping up
With Pi-Hole set up on your Raspberry Pi, you can now enjoy an ad-free browsing experience across your entire network. Not only does this enhance your browsing experience, but it also conserves bandwidth and improves loading times.
Want a pre-installed ready to use Pi-Hole?
I use Pi-Hole myself on my own personal network. Not only does it block ads, it also prevents devices such as Smart TV's from sharing your viewing habbit data. When I noticed this was happening with my own smart TV's I was surprised to see at just how much bandwidth it was consuming.
We offer installation services for this and other products for your home or business. If you would like this for yourself please contact us and let us know.
- Mark Prince, LCNTech.
